Based on some recent conversation, I am recycling an article I originally wrote for Carolina Nature Photographers’ Association Camera in the Wild.
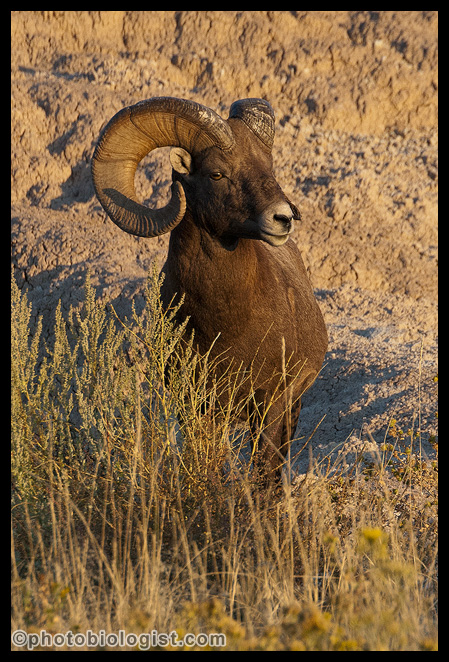
Photography by Robert & Kristin Smith
Introduction
For those of you who know me, you can stop worrying. I have not suddenly morphed into some kind of technology guru who is keeping up with the latest and greatest must-have piece of equipment. I am talking about how to start a fire with your camera gear.
Why might you need to start a fire with your camera gear? Maybe you slipped into a stream while photographing winter waterfalls. You might have gotten turned around, and need to spend the night out. You need a fire to attract attention from rescuers. You simply want a warm cup of coffee or need to cook the hot dogs. Whatever the reason, let’s imagine that you want or need a fire.
Furthermore, let’s imagine that maybe you gave your emergency cigarette lighter that stays in your camera bag to a friend on your last group outing. And you haven’t checked that small wilderness survival kit in years, and the match heads have turned into soft putty. Well, you can use your camera equipment to start a fire! We will discuss using telephoto lenses, Fresnel flash extenders, and camera batteries to ignite fires in two different ways.
More important than the ignition source when starting a fire though is having the right fuels available for the fire to continue burning. Laying a fire properly and using properly sized & arranged fuels is as critical a skill in successful fire starting as the ability to get ignition. Before lighting the fire, make sure you have enough fuel available for the fire burn for some time.
The first fuel that is lit is called tinder. This is usually very thin, very dry material. Good examples of tinder include pocket lint, very dry grasses, shredded cedar or hibiscus bark, and very dry grass or aster seed heads. It is important to make a small nest or knot of this tinder so that once it is ignited you have a large enough and hot enough flame to ignite the kindling.
And kindling is the next larger size of fuel. Kindling is usually placed on top of the tinder so that the rising heat and flames ignite the kindling. Dead, dried twigs that are smaller than a number 2 pencil make good kindling, especially greenbrier and yucca. Sappy heartpine from most of our southern yellow pines, including pitch pine in the mountains and longleaf pine in the flatwoods, makes an excellent kindling, especially when splintered. Once the kindling is burning well, larger and larger wood can be added to the growing fire to meet your needs. Make sure to leave plenty of space in the fuel piles for the fire to breathe, as oxygen is necessary for the fire to burn.
It is a great skill to be able to start a fire with only one match (or without a match!) in damp situations. But in an emergency situation when you may have a limited number of attempts, the judicious & sparing use of small amount of accelerant may help get your fire going. An accelerant is a flammable substance that aids in the spread of an intentionally set fire. Some accelerants include gasoline, some bug sprays, some hairsprays, starting fluid, and powder out of a firearm cartridge. Basically, if the container says something like “CAUTION! KEEP AWAY FROM HEAT AND FLAMES”, it is likely an accelerant. Again, using an accelerant may be dangerous and should only be considered in an emergency situation.
Camera Lenses
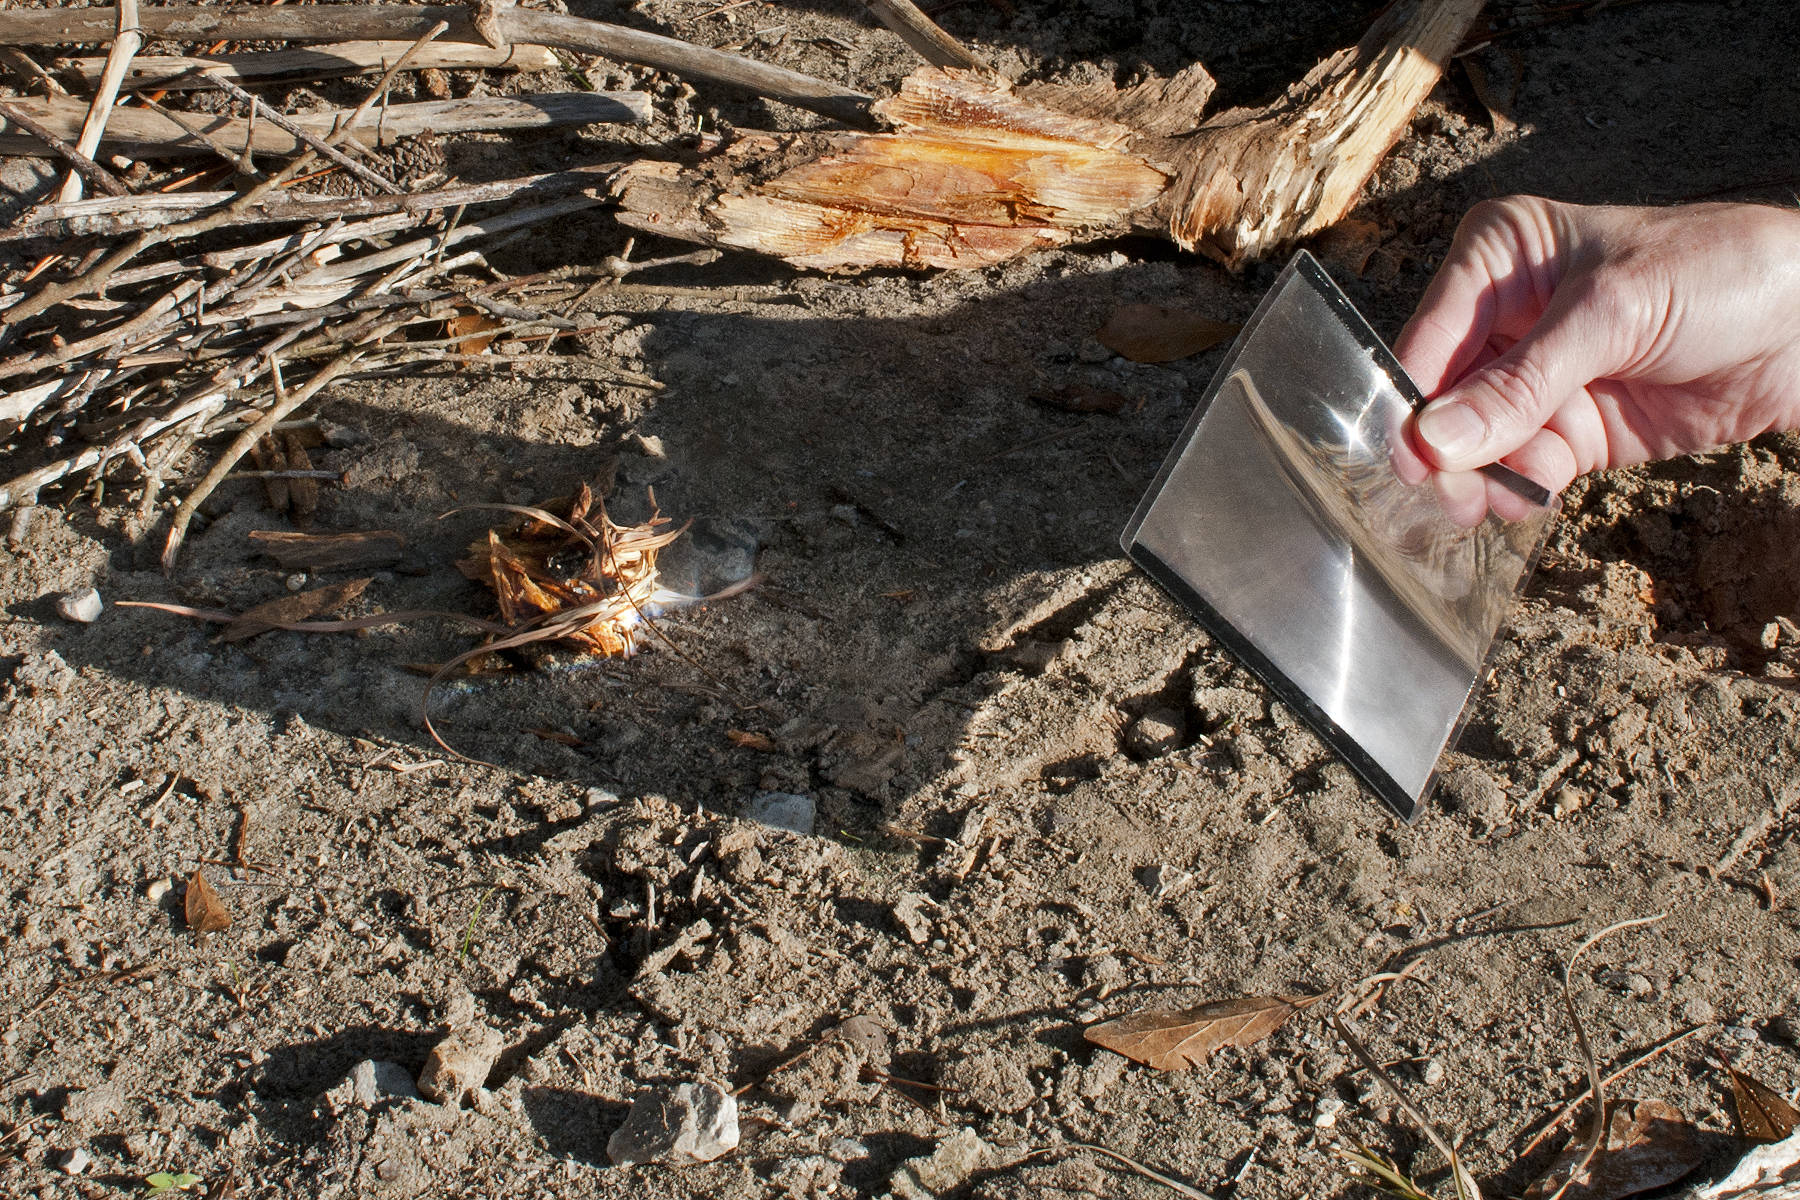
Our camera lenses generally magnify subjects, and longer lenses are basically fancy magnifying glasses. We all know how to take a magnifying glass and focus the sun in a bright spot that will quickly cause paper to smoke. We can use that same concept to start a fire. In theory, the longer and faster telephoto lenses focus more light and create a more intense heating effect. In practice, “big glass” is difficult to align and hold in the same position. Shorter lenses, such as an 80-200 mm f/2.8 lens or a 70-300 mm f/5.6 lens work just fine.
There are several steps in using your camera lens to start a fire. Take the lens off the camera. Remove the front & rear lens caps (if in place). Remove the lens hood. If it is a zoom lens, extend the zoom to the maximum length. Open the aperture as wide as it will go, whether that is f/2.8 or f/5.6 (and the wider apertures focus more energy). Note that on some newer lenses, this may mean finding & holding the diaphragm pin open with your finger. Align the lens with the sun holding the end that attaches to your camera closest to the tinder you want to ignite. The distance from lens to tinder will generally be around 2 inches to get the most intense heating (the smallest spot of the brightest light produces the most heat). Simply move the lens closer and further from the tinder until you find the right spot. Note that upon ignition, you will want to quickly get your lens away from the heat and smoke.
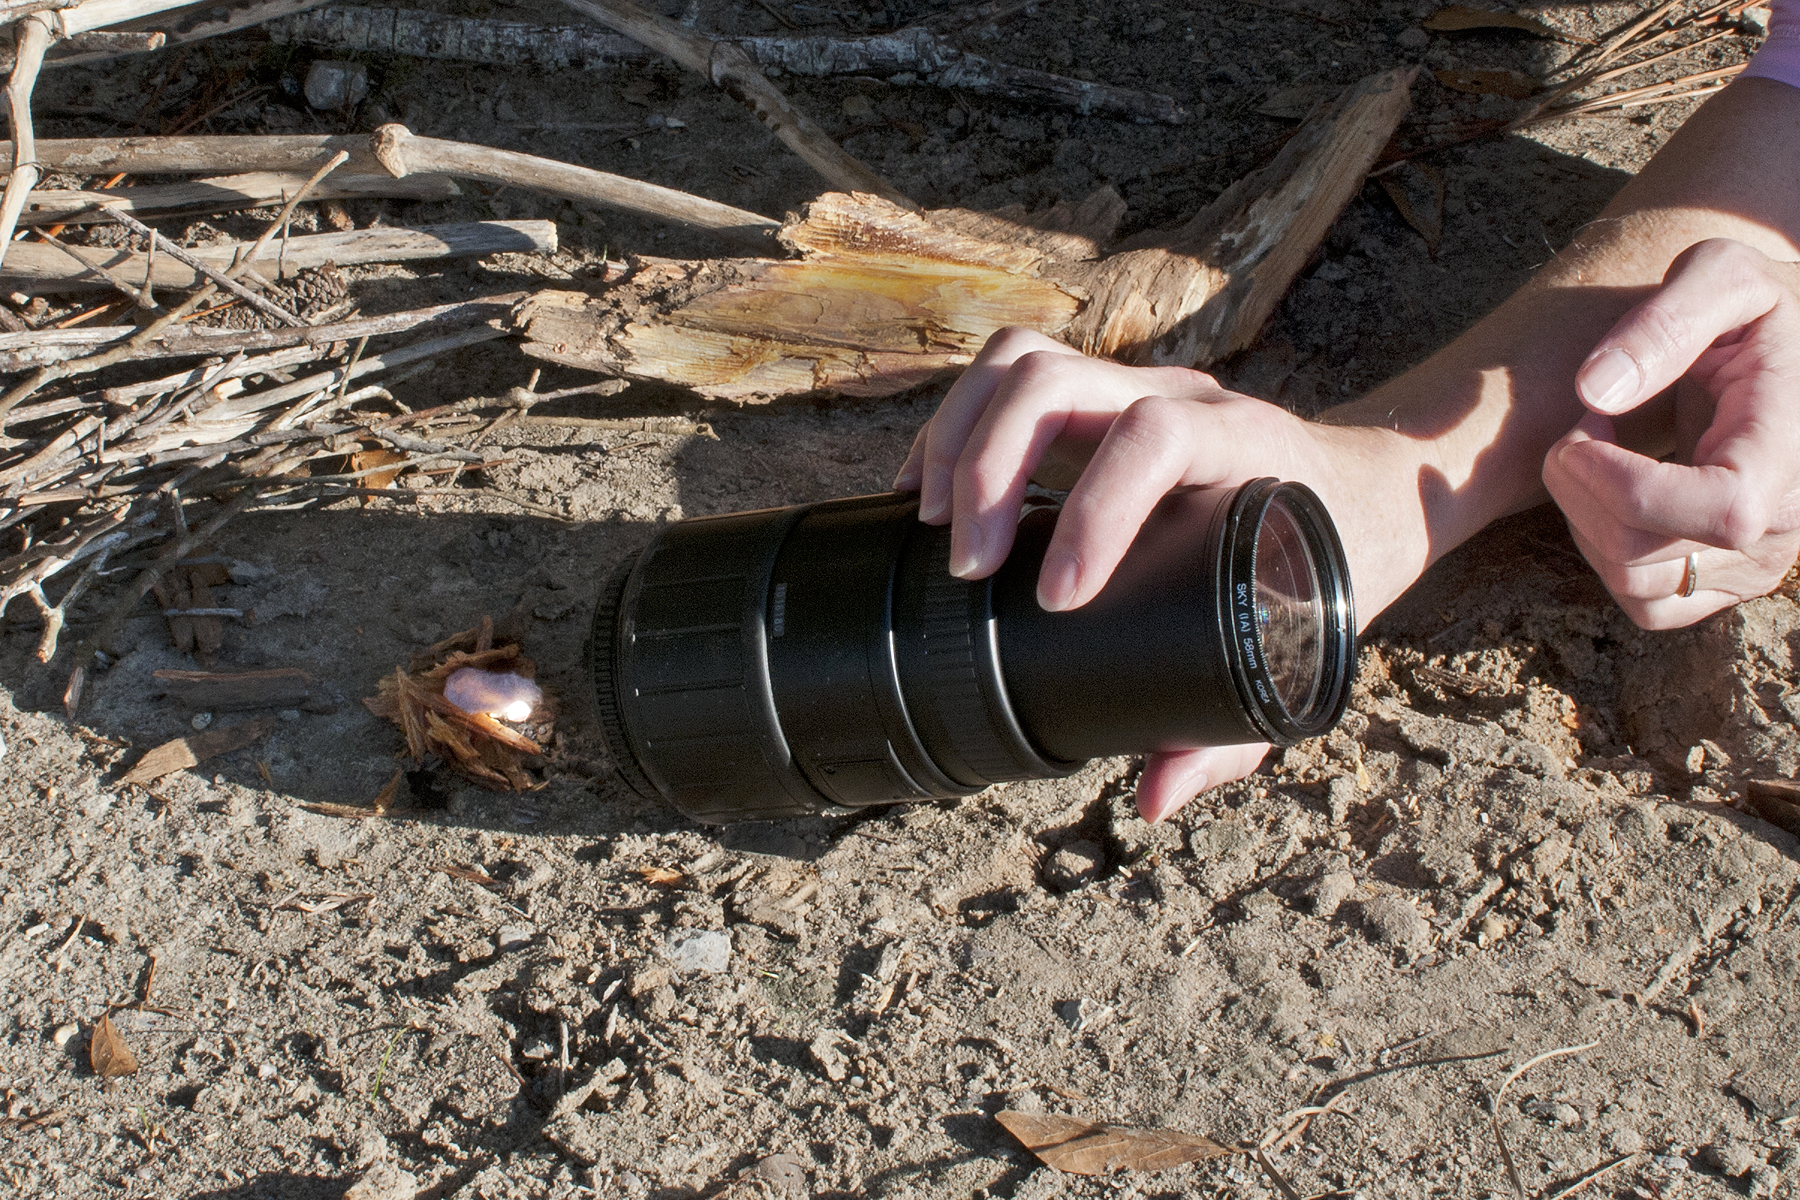
A Sigma 70-300 mm lens (at 300 mm and f/5.6) is used to ignite a fire.
Fresnel Flash Extenders
Fresnel lenses were originally designed for lighthouses to focus light so that it was visible for longer distances. These compact lenses basically have a larger aperture and a shorter focal length than traditional lenses that do the same job. These lenses have been adapted to focus the light from a camera flash so that it will illuminate objects further away. The Better Beamer Flash X-Tender is probably the most common Fresnel lens used by nature photographers, and any photographer who has used one very often can testify to the truth of the orange sticker on the X-Tender’s cover. That sticker says (in part): “WARNING! This is a magnifying lens. Pointing the lens near the sun may result in damage to your camera or your eyes. Always remove and/or cover this lens when not in use!”
Holding a Fresnel flash extender about 8 to 10 inches from the tinder you want to light can result in rapid ignition. It is a much simpler lens to use than a camera lens, but not all nature photographers use Fresnel flash extenders.
The lens from a Better Beamer Flash X-Tender is used to ignite a fire.
Batteries
Magnifying glasses work great to start a fire when there is bright light, but what if it is cloudy or dark? Your camera battery (or cell phone battery or car battery or other battery combination with reasonably high voltage) will work just fine as an energy source to ignite steel wool. The drawback to this technique is that you will need steel wool. The finer the steel wool, the better this technique works. Basically, you touch the steel wool to the positive and negative battery terminals at the same time. A large current flowing through a tiny wire results in lots of resistance. This resistance creates enough heat that to quickly ignite the wire. This burning steel wool may already be placed in a nest of tinder or quickly transferred to tinder to ignite the fire.

When steel wool touches the positive and negative terminals of a battery (in this case a Nikon EN-EL3), it rapidly ignites.
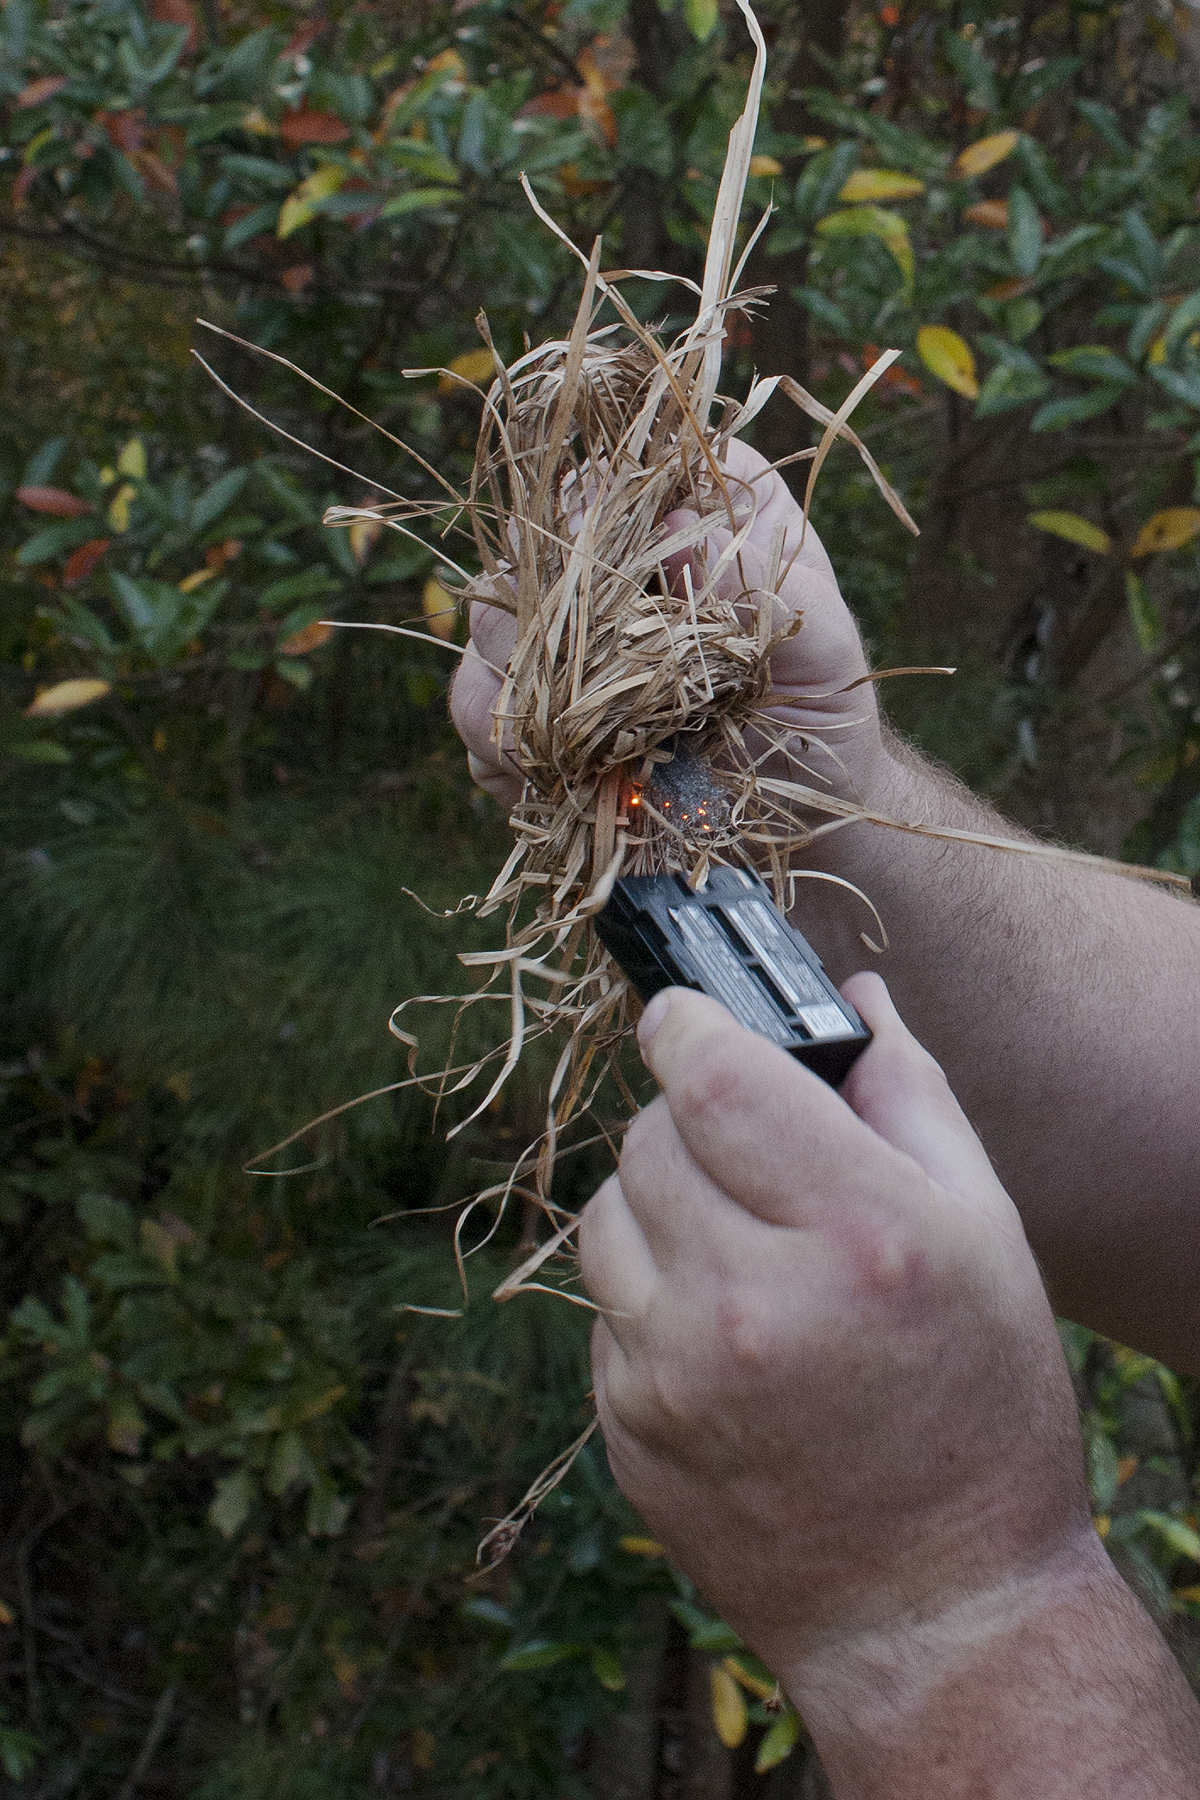
Fire is the quick result of applying a battery to steel wool surrounded by a knot of tinder.

This shot was taken 7 seconds after the other shot.
Summary
Take the time to put an emergency cigarette lighter and a small wilderness survival kit in your bag and hopefully you will never need to use these techniques. Robert will be glad to demonstrate these techniques if you catch him in the field. In addition to starting fires with these, he has also started fires with flint & steel, a fire bow, a fire piston, chemical reactions, and a firearm.