Photographing RS-25 Rocket Engine Test as part of a NASA Social Media Event: My Perspective
I enjoy photographing wildlife, whether it is a deer, a bird, a frog or an invertebrate. I photograph flowers, especially cool native flowers. I photograph a landscape here and there. At one time, I’d have described myself as a nature photographer, but since “hand of man” is eschewed by many nature photography groups, I’ve gone up-periscope to a broader descriptive term of “outdoor photographer”, especially as I’ve started photographing more and more people doing outdoor pursuits.
Most of my photography has been solo or in very small groups, though workshops that I either attend or lead can be much larger. And, because I’m a “dad with a camera”, I’ve photographed birthday parties, school events, sports matches and more. I’ve also done a good bit of event photography, but mostly outdoor-related events like retrieving dog trials, sporting weekends, field tours and such. Recently, I applied to attend a National Aeronautics and Space Administration (NASA) Social Media event at their John C. Stennis Space Center in Hancock County, Mississippi where they were testing the RS-25 rocket engine that will be used to power the Space Launch System to Mars and beyond.
#NASASocial
So photographing a rocket engine test and related background presentations that NASA had prepared for us is a little outside of the kinds of things that I normally photograph. That said, it is directly related to the biological work that I’ve done in the past and some of the things that I’m doing now. Many, many years ago, when the John C. Stennis Space Center was called National Space Technology Laboratory, I worked there doing floral and faunal inventories (especially of rarer species) and acidic deposition studies. Now, I work with two large groups based out of Stennis and work with large landowners in the adjacent sound buffer zone. And I often go out with photographic groups to photograph things that aren’t “nature” or “outdoors”; for example, I’ve learned a lot about how I can use my flash with flowers and birds by going on product photography meet-ups or going to photograph models. So, photographing a NASA rocket engine test is outside of what I normally photograph, but it is associated with what I do and that sort of event photography helps me continue to hone my photographic skills.
The first thing that I had to decide was what gear that I wanted to take. Now anybody who knows me knows that I like to have all my gear available so that I can choose what I need when I need it. For this social media event, we would be meeting at a Visitor’s Center in the buffer zone and getting onto a bus with our gear. That means that I would not have access to all the gear that I would normally have in my truck, and that I needed to be able to easily carry my gear onto a bus (that luckily had overhead compartments). Knowing that I would not have easy access to my gear and knowing that gear breaks at the most inopportune time, I thought carefully about the gear that I would carry and tried to make sure that I had some sort of back-up plan.
Once we got a detailed agenda of our NASA Social Media event, I could start planning what gear to carry. It looked like our tour would involve indoor and outdoor briefings and an opportunity to photograph a large barge. It helped that I had been on the site many times in the past, though never specifically to photograph things. I also hoped for a chance to photograph some of the static exhibits around the Stennis Space Center. We were also scheduled for a relatively up-close view of a test stand and the actual rocket test where we’d be some distance away. I figured that the rocket engine test would be where I would need my longest focal length lens.
I e-mailed John Yembrick, NASA’s Social Media Manager and my contact for this experience, and asked him how long of a lens he would recommend for the engine test. He checked with an unidentified photographer based out of Stennis who said that a 200 mm lens would be sufficient. That was a big help, because that means that I could leave the “big guns” at home and not have to carry around that extra weight.

John Yembrick, NASA Office of Communication Social Media Manager, provided great information to help me prepare to photograph the event.
I started, of course, with my main “walking around” gear, a full-framed camera body and a short telephoto lens. In my case, that is a Nikon D3 and a Nikkor 28-85 mm lens. I used that combination a good bit. Being photographically-inclined, I also took a back-up camera body; in my case a crop-factor D300s that I initially paired a Nikon 80-400 mm lens. I also used that combination a good bit. Having those two bodies and lenses basically gave me fairly full coverage from 28 mm to 600 mm (1/2-x to 12x magnification). Having those two lenses pre-mounted on a body kept me from opening my camera body up in potentially dusty environments and getting dust spots on my sensor – though I did change lenses in buildings and on the bus a time or ten.
I also expected some tight spaces and small rooms, so I packed a Sigma 15-30 wide angle lens as well which came in very handy. I also wanted to be prepared to photograph small items on displays (or a cool bug or frog or lizard), so I packed a 60 mm macro lens as well. I think that I made less than a half dozen exposures with that lens during the day, though in hindsight, I missed a few more shots that I could have made using that lens.
I also expected some of the areas to be dark, which would result in slow shutter speeds, so I packed a sturdy tripod with a Really Right Stuff BH-55 ballhead. I used an OpTech tripod strap to enable me to carry my tripod like I do one of my hunting rifles. The tripod got used a LOT!
I also carried my flash, flash cord, and an off-camera flash bracket. I figured that many of the inside shots, some of the brightly lit outside shots, and any close-up shots would likely benefit from an ability to change the light a bit. While I did not expect much of an opportunity for action photography, I thought there might be times when I’d want to use the flash again quickly, so I packed my (heavy) Quantum Turbo external flash battery back. I also carried a gold/silver circular polarizer, spare camera battery, circular polarizer, notebook, bottle of water.
So, then the question became, “How do I carry all this gear?” In my mind, I had two options, I could use a photo backpack or I could use a big waist pack. I opted for an older LowePro waist pack with a shoulder strap. I could put one body/lens combination and my flash and smaller gear in the main compartment and the front pocket. I could put a spare lens in one side compartment and a bottle of water in the other side compartment. I added a couple of more lens cases to the belt for an additional lens and other small gear and clipped my Quantum Turbo battery to the waist belt. My walking around camera went on a strap around my neck, and the tripod was slung across a shoulder.
When the weights were totaled up for the gear, I was carrying just a hair over 29 pounds of gear for the day. What would I leave at home next time? The Quantum turbo flash battery! (I’d carry 5 AA batteries in case my flash battery died instead and not worry about how quick my flash recycled). Other than that, I think I’d carry exactly what I carried for this NASA Social media event.
What would I have added to my load or done differently? I think that I might have added my point-and-shoot to shoot video with (or shot video with the D300s). In hindsight, I wished that I’d put one camera on a tripod with the shutter intervalometer set so that I captured a time lapse sequence of the entire rocket engine test.
When I went to check in for the NASA Social media event, I noticed that most of the other participants were not carrying quite as much gear as I was. Since it was a social media crowd going to an event heavy on technology and engineering, I expected more photo nerds to be present in the group (and I’m using nerds in a very kindly and appreciative manner since I are one). Many of the social media posters were very capably using cell phones or tablets for photographs and videos. A few were using GoPro type cameras and a few were using (mostly entry-level) digital single lens reflex cameras with short telephoto lenses. In the group of approximately 40 participants, I think I saw 4 tripods, and those were generally the relatively inexpensive, wobbly tripods that folks often buy as their first tripod. I felt a little concerned and out-of-place. When the bus load of traditional media folks joined us with their larger cameras (DSLR and video) and larger tripods, I felt much more comfortable.
As a person whose social media posts focus mainly on biology and post-processed photography, I was definitely in the minority. Judging by the questions that other participants asked, they follow NASA’s policies, plans, specifications, announcements and rumors as avidly as I follow biology and land management information. It was interesting too at the rapidity information was shared during the social media event. Most of the attendees shared information as texts, videos and photos in real time. While I shared 4 photos during the event, other folks shared 50 or more! As soon as a speaker finished speaking or we got back on the bus, I could look around and see 2 or 3 other heads looking around, everybody else was busy Tweeting, Facebooking, Googling, blogging or otherwise posting a live update.
As the speakers spoke, the NASA Social media attendees videoed, photographed, Tweeted, Facebooked, Instagramed, blogged and more…
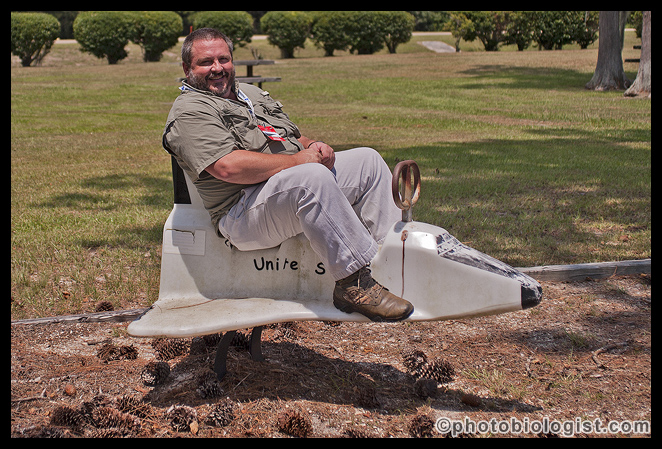
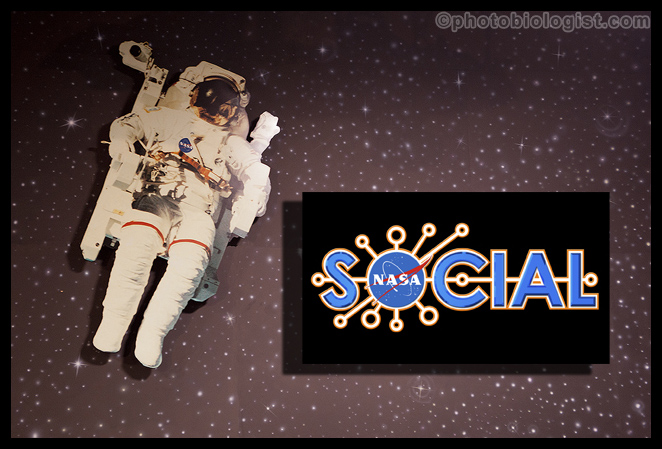
I was really, really surprised when only one other social media attendee went to take shots of the Space Shuttle rides in the kiddie area next to the bus parking – especially since most of them were much younger (and assumably much hipper) than me. I thank the other hip Social media attendee for photographing me piloting the Space Shuttle!
As expected, I had to shoot under a wide variety of conditions; and, as noted above, I was glad that I brought the gear that I did. Lighting varied from dimly lit rooms to super bright sunlight. Having a flash (I only noticed one other photographer use a flash), really, really helped with a few shots. I did try to NOT use my flash overly much out of respect for the presenters and the folks shooting video.
When I photographed most of the presenters, I did so from the back of the room where I wouldn’t be in anyone’s way with a long lens. I often used the 80-400 at maximum extension on a crop factor body, which meant that I was shooting at a 600 mm equivalent. That meant high ISOs and SLOW shutter speeds; the slow shutter speeds then meant that I needed a rock solid tripod and good long lens technique.
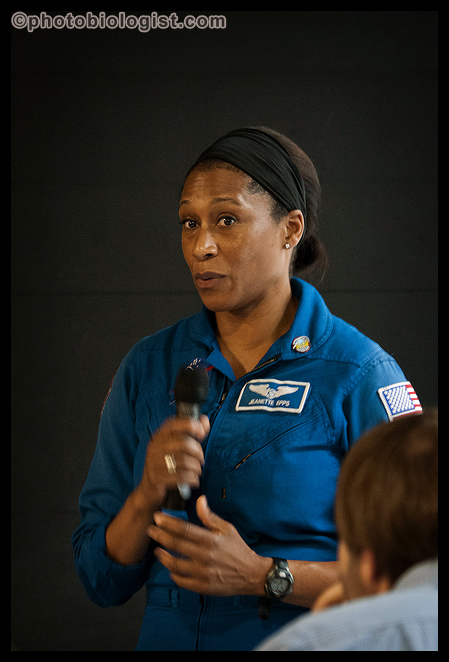
Shooting from the back of the room with a long lens worked, but the flash when I used it wasn’t quite reaching the subject and my shutter speeds were slow enough that I really needed to pick times when the subject (in this case NASA Astronaut Jeanette Epps) was being still.
Nikon D300s, Nikkor 80-400 @ 195 mm, f/5.3, 1/20th second, ISO 3200, no flash.

For this shot of NASA Astronaut Jeanette Epps, I was able to get closer and use a shorter lens and fill flash, I got better color and more detail – but my shutter speeds were still slow enough that I got some blurring as the subjects moved.
Nikon D3, Nikkor 28-85 @ 85 mm, f/4.5, 1/60th second, ISO 500, bounced flash as main light.
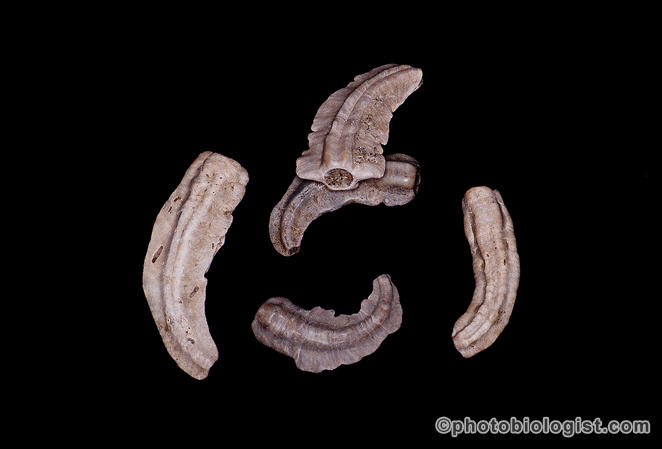
Camera-subject distances ranged widely too – from about 8 inches to about ¼ mile. I only had to use the close focus ability of the macro lens one time, but I’m glad that I had it. Of course I could have shot this particular shot any time. There were a few other displays and such that I wish that I’d made time to shoot with a macro lens.

This was the only shot that I really used the close-focusing ability of my macro lens. I could have done without it (or carried an extension tube). But there were other opportunities to use the macro lens that I should have taken.
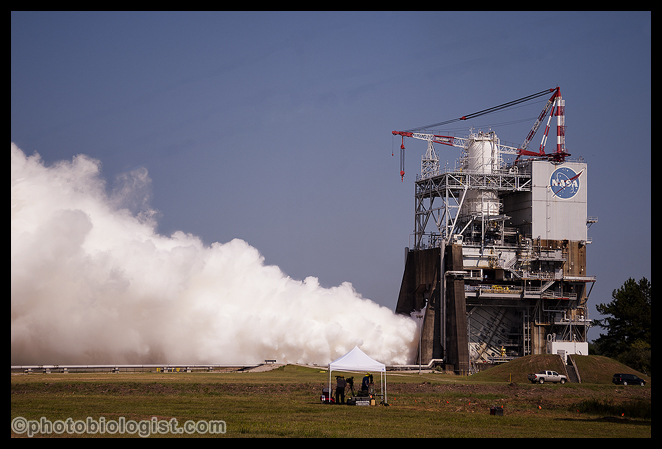
RS-25 rocket engine running in test stand A-1 at Stennis Space Center; we were about 1/4 mile away behind a rope line.

There were photographers, videographers and observers VERY close to me on all 3 sides; getting to the rope line early was very important if you wanted to get pictures of the engine test without people in the foreground.
I was also constantly constrained by time and the presence of other people. I had to either work hard to get a shot without other attendees in it or include them as a part of the shot. Many times, I had to use a wide angle lens, when I’d have preferred to back up and use a longer lens. I often had to select a spot in advance of knowing exactly what was going to happen. Many times once you were in a spot, you were there for some time with a limited opportunity to change positions – especially at the engine test itself.

The B-2 rocket engine test stand; I had to get up at the front of the group and use my wide angle at 15 mm to barely get the whole test stand in the image. This resulted in a lot of distortion that I had to adjust in post-processing (and I had to add a little water and concrete to the lower image left).

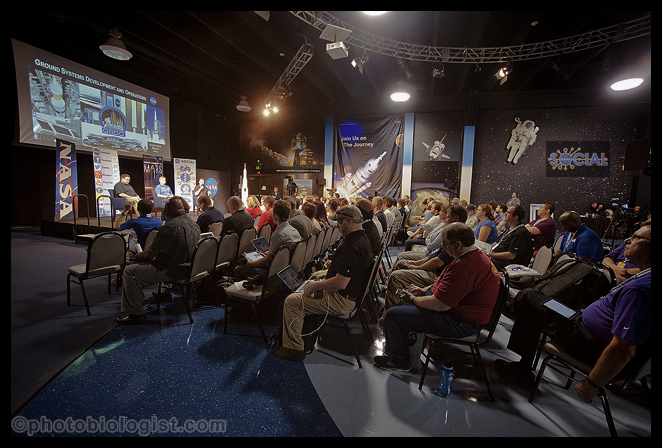
Alternatively, I could go towards the back of the group and get a shot of the social media attendees learning about the test stands.
So, how did I do? I reckon you’ll have to be the judge of that. There is a short overview here: http://photobiologist.com/rs-25-rocket-engine-test-at-nasas-john-c-stennis-space-center I shot 632 shots in just under 9 hours. I kept around 500 of them and worked up 61 of them; many were duplicates or horizontal vs. vertical or slight variations.
To get an opportunity like this yourself, follow one of NASA’s 500+ social media accounts and keep an eye out here: http://www.nasa.gov/connect/social/index.html If you attend one of these events, don’t be shy. Introduce yourself to the NASA hosts and the other attendees and have a great time! I hope my perspective helps a future NASA Social Media attendee with a photographic bent have a great experience. Different events will be different, and even another rocket engine test at Stennis Space Center might well be different (especially if different test stands and different viewing locations are used).
#NASASocial #SLSFiredUp